Getting Started - Creating a Factory
We strongly believe that most common encoding tasks should be easy. That’s why it takes only 3 steps to start encoding video with Telestream Cloud Flip Service.If you don’t want to read through the tutorial you may check out
the explanatory video.
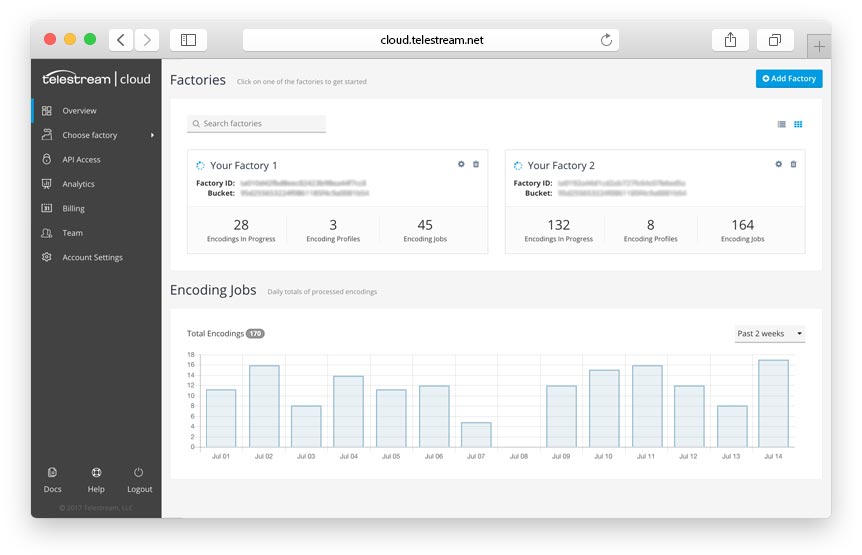
The key concept to understanding how Flip Service works is Factory, which contains elements essential to transcoding process:
- your storage settings - where the encoded files should be sent to
- your encoding profiles - they define the output files Flip Service is producing
- your encoding jobs - the processing of the files you submit to Flip Service
Every time you submit jobs to a factory - be it API, watch-folder or web console - your source files will be transcoded to the output profiles you defined. Let’s dive right into it and go through the Factory setup process to see what’s what.
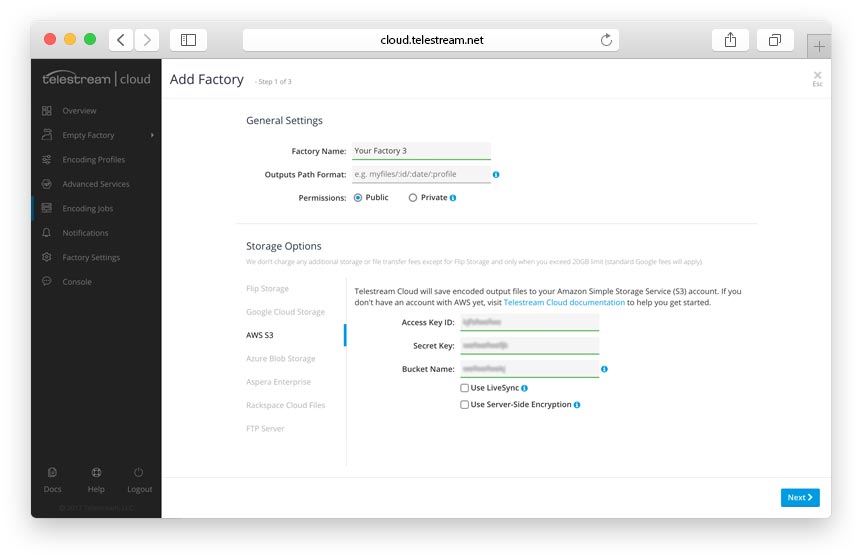
First step when creating a factory - apart from naming it and deciding on output path structure - is setting up storage. This is where the encoded files will be delivered. If you already have your AWS, Google, Azure, Rackspace, Aspera or FTP storage set up you’re good to go. We just need your credentials once to create Telestream Cloud user that will access and create buckets/folders as needed.
If you don’t have any cloud storage set up yet you may want to check out our tutorials
how to go about configuring it with Flip Service
or use Flip Storage that is provided out of the box. We do not recommend it for production environment but it’s the easiest way to test us if you don’t have an account with a cloud service provider yet. It’s Telestream provisioned storage with free 20GB of space and data transfer included. We’ll charge you standards AWS or Google fees if you exceed that limit.
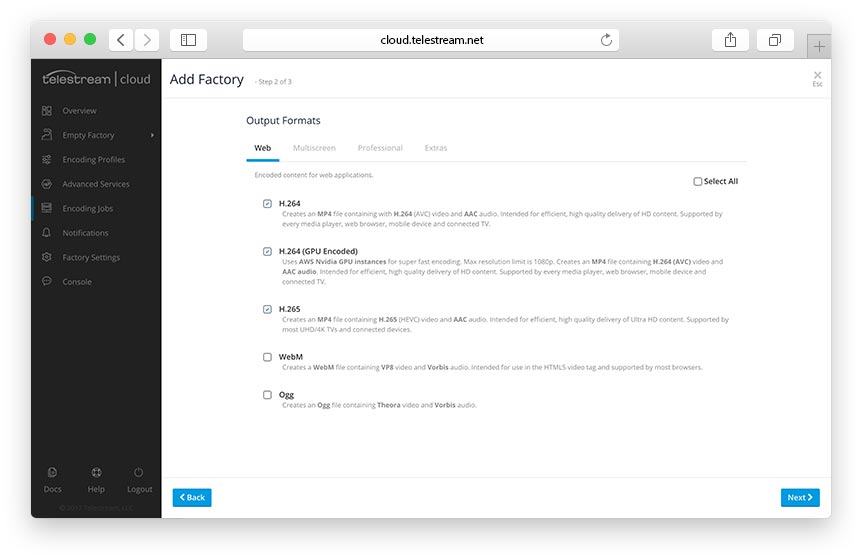
All right, time to select encoding profiles. They have been divided into 4 groups, based on their application and complexity. Standard web formats are best suited for VOD services, where size/quality ratio matters, as well as ability to play on variety of available web players.
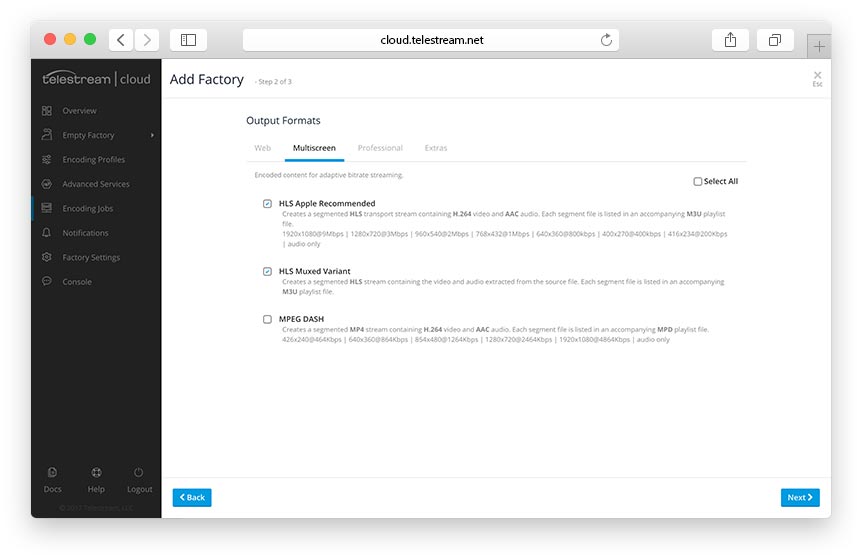
Then we have Multiscreen profiles that produce Adaptive Bitrate HLS or MPEG-DASH content. Adaptive Bitrate Streaming allows to deliver video for varying network bandwidths and broad range of devices - mobile, tablet or OTT. Growth of mobile video consumption and popularity of SVOD services like Netflix or Hulu make ABR essential to your business. If you’d like to find out more about the ABR and how it works we have a great article on that.
Go to article
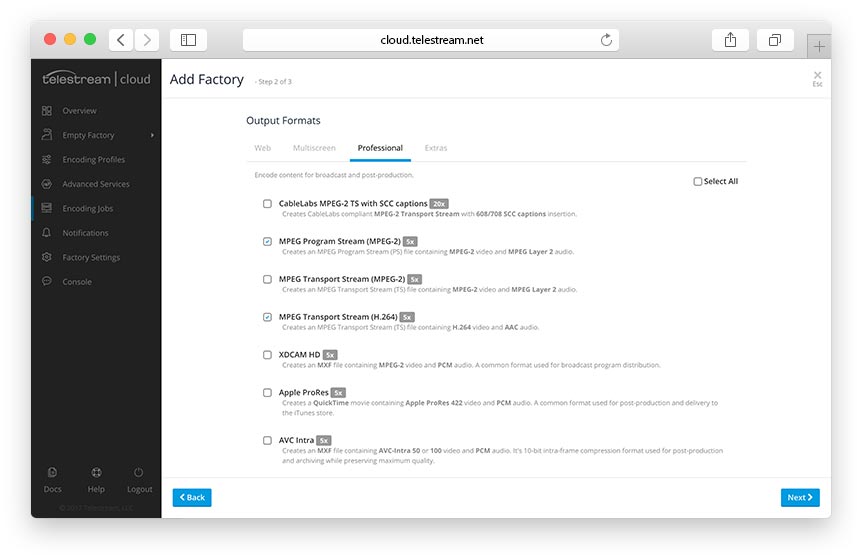
Professional formats like MPEG-TS or Apple ProRes cover mainly broadcast and post-production applications. We support all major formats used in the industry - from CableLabs compliant MPEG-2 TS with caption, through ProRes, XDCAM, all the way to high-quality high-bitrate postproduction DNxHD.
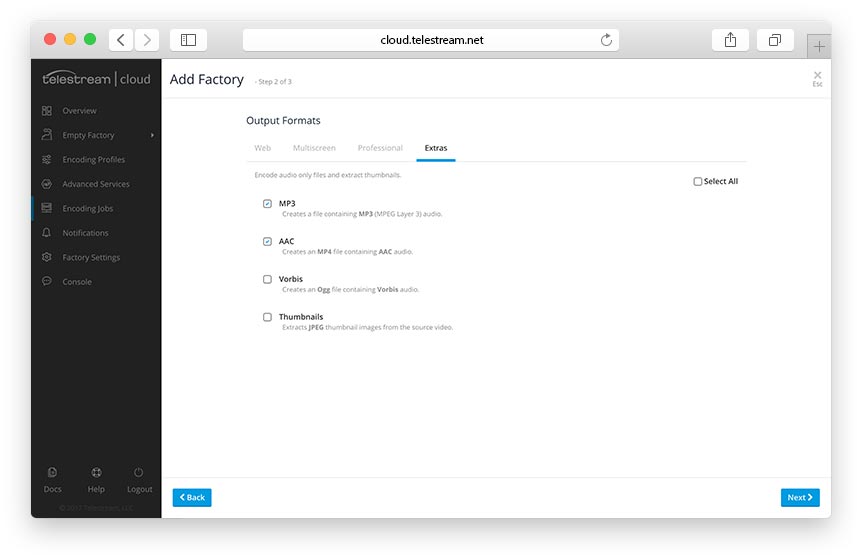
Finally, there are Extras, which cover miscellaneous use cases - audio only output (MP3, AAC) or thumbnails generation.
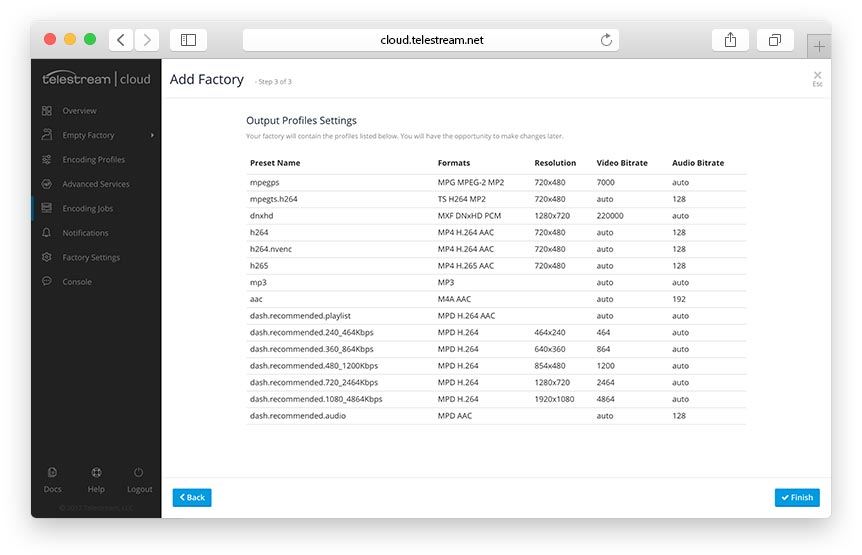
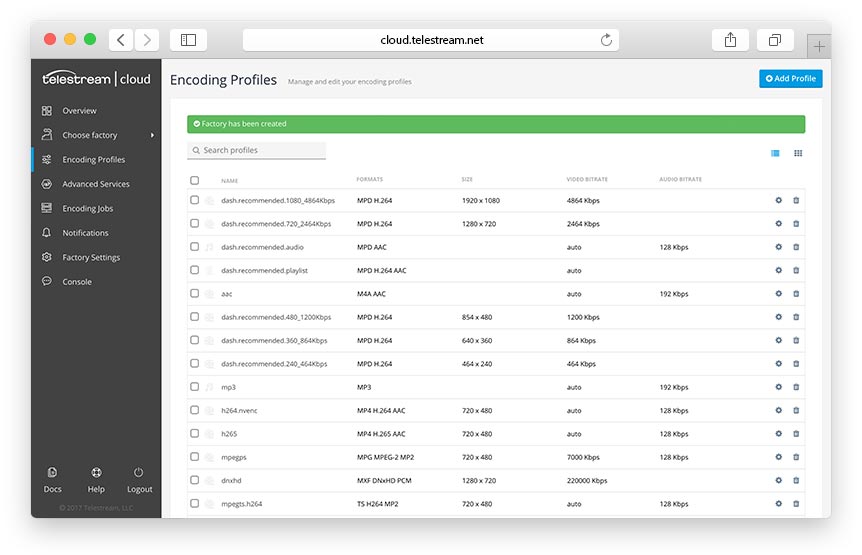
Of course, you can always tweak your profiles later. We cover that in next tutorial. For now, if you picked your output profiles we’ll show you a summary of your choices. That’s the last step - you’ve created a Factory that you can now use to encode your files.
 First step when creating a factory - apart from naming it and deciding on output path structure - is setting up storage. This is where the encoded files will be delivered. If you already have your AWS, Google, Azure, Rackspace, Aspera or FTP storage set up you’re good to go. We just need your credentials once to create Telestream Cloud user that will access and create buckets/folders as needed.
 If you don’t have any cloud storage set up yet you may want to check out our tutorials
how to go about configuring it with Flip Service
or use Flip Storage that is provided out of the box. We do not recommend it for production environment but it’s the easiest way to test us if you don’t have an account with a cloud service provider yet. It’s Telestream provisioned storage with free 20GB of space and data transfer included. We’ll charge you standards AWS or Google fees if you exceed that limit.
All right, time to select encoding profiles. They have been divided into 4 groups, based on their application and complexity. Standard web formats are best suited for VOD services, where size/quality ratio matters, as well as ability to play on variety of available web players.
 Then we have Multiscreen profiles that produce Adaptive Bitrate HLS or MPEG-DASH content. Adaptive Bitrate Streaming allows to deliver video for varying network bandwidths and broad range of devices - mobile, tablet or OTT. Growth of mobile video consumption and popularity of SVOD services like Netflix or Hulu make ABR essential to your business. If you’d like to find out more about the ABR and how it works we have a great article on that.
Go to article
 Professional formats like MPEG-TS or Apple ProRes cover mainly broadcast and post-production applications. We support all major formats used in the industry - from CableLabs compliant MPEG-2 TS with caption, through ProRes, XDCAM, all the way to high-quality high-bitrate postproduction DNxHD.
 Finally, there are Extras, which cover miscellaneous use cases - audio only output (MP3, AAC) or thumbnails generation.
 Of course, you can always tweak your profiles later. We cover that in next tutorial. For now, if you picked your output profiles we’ll show you a summary of your choices. That’s the last step - you’ve created a Factory that you can now use to encode your files.
