Stores - setting up destination for your output files in Telestream Cloud
Your story begins in the cloud
Let's start with the obvious - your output files produced by Telestream Cloud need to be delivered somewhere. Media that you process with Flip, Timed Text Speech or Quality Control services eventually will end up in one of the stores you set up to use with Telestream Cloud.
If you haven’t used any cloud storage so far you need to start from the ground up by choosing one of multiple storage providers supported by Telestream Cloud. Whatever provider you choose, we always make sure your content is processed as close to your store as possible to avoid egress cost whenever possible.
The choice is yours!
Depending on your needs, location or infrastructure you’re already using you need to pick one of storage options available in Telestream Cloud:
- Amazon S3 (Simple Storage Service) - see tutorial
- Google Cloud Storage (GCS) - see tutorial
- Azure Blob Storage - see tutorial
- Aspera Enterprise
- FTP server
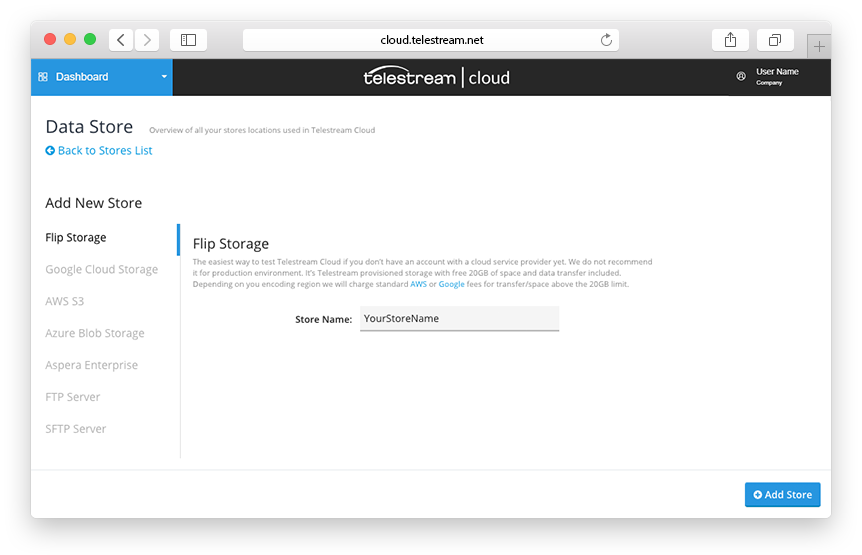
Then, there is also Flip Storage which is Telestream provisioned storage with free 20GB of space and data transfer included. While this is a good solution for a quick start with Telestream Cloud services we do not recommend using it for a production environment.
Another step forward
Do you already have your storage in the cloud? That's great! The next step is adding it in the user console of your Telestream Cloud account.
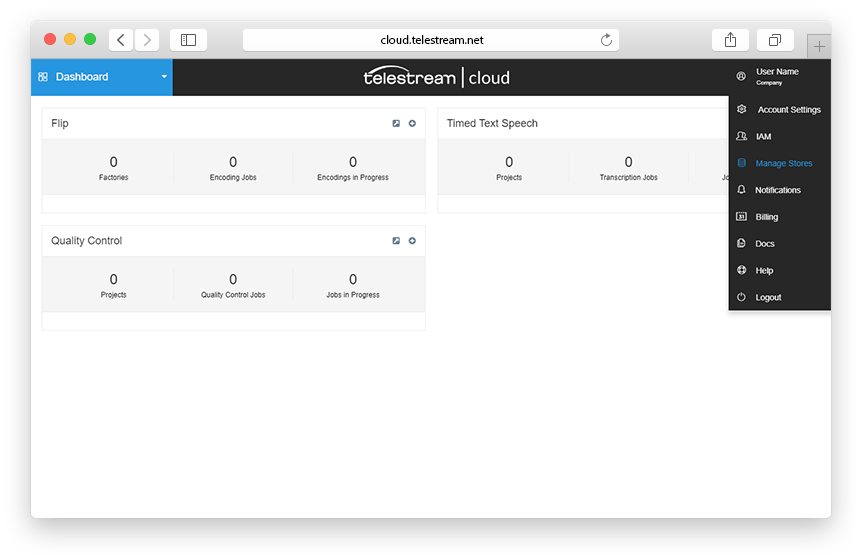
All of stores management is accessible from global setting menu in the upper right corner of the Telestream Cloud console. You need to pick “Manage Stores” from the drop-down list.
This is where you can see list of your stores, add new ones, remove or edit existing ones. In the following parts of our documentation, we describe how to step by step create your own storage with a selected cloud storage service provider, how to configure and add it in the Telestream Cloud console to be able to fully use the potential of our services.
To get started simply click on the “Add store” button and here we go...
- Amazon S3 (Simple Storage Service) - see tutorial
- Google Cloud Storage (GCS) - see tutorial
- Azure Blob Storage - see tutorial
- Aspera Enterprise
- FTP server